Setup
After initializing your Kinesis API instance and logging in for the first time, you will be presented with a setup screen where you can configure various system settings. This page explains each configuration option to help you make informed decisions.
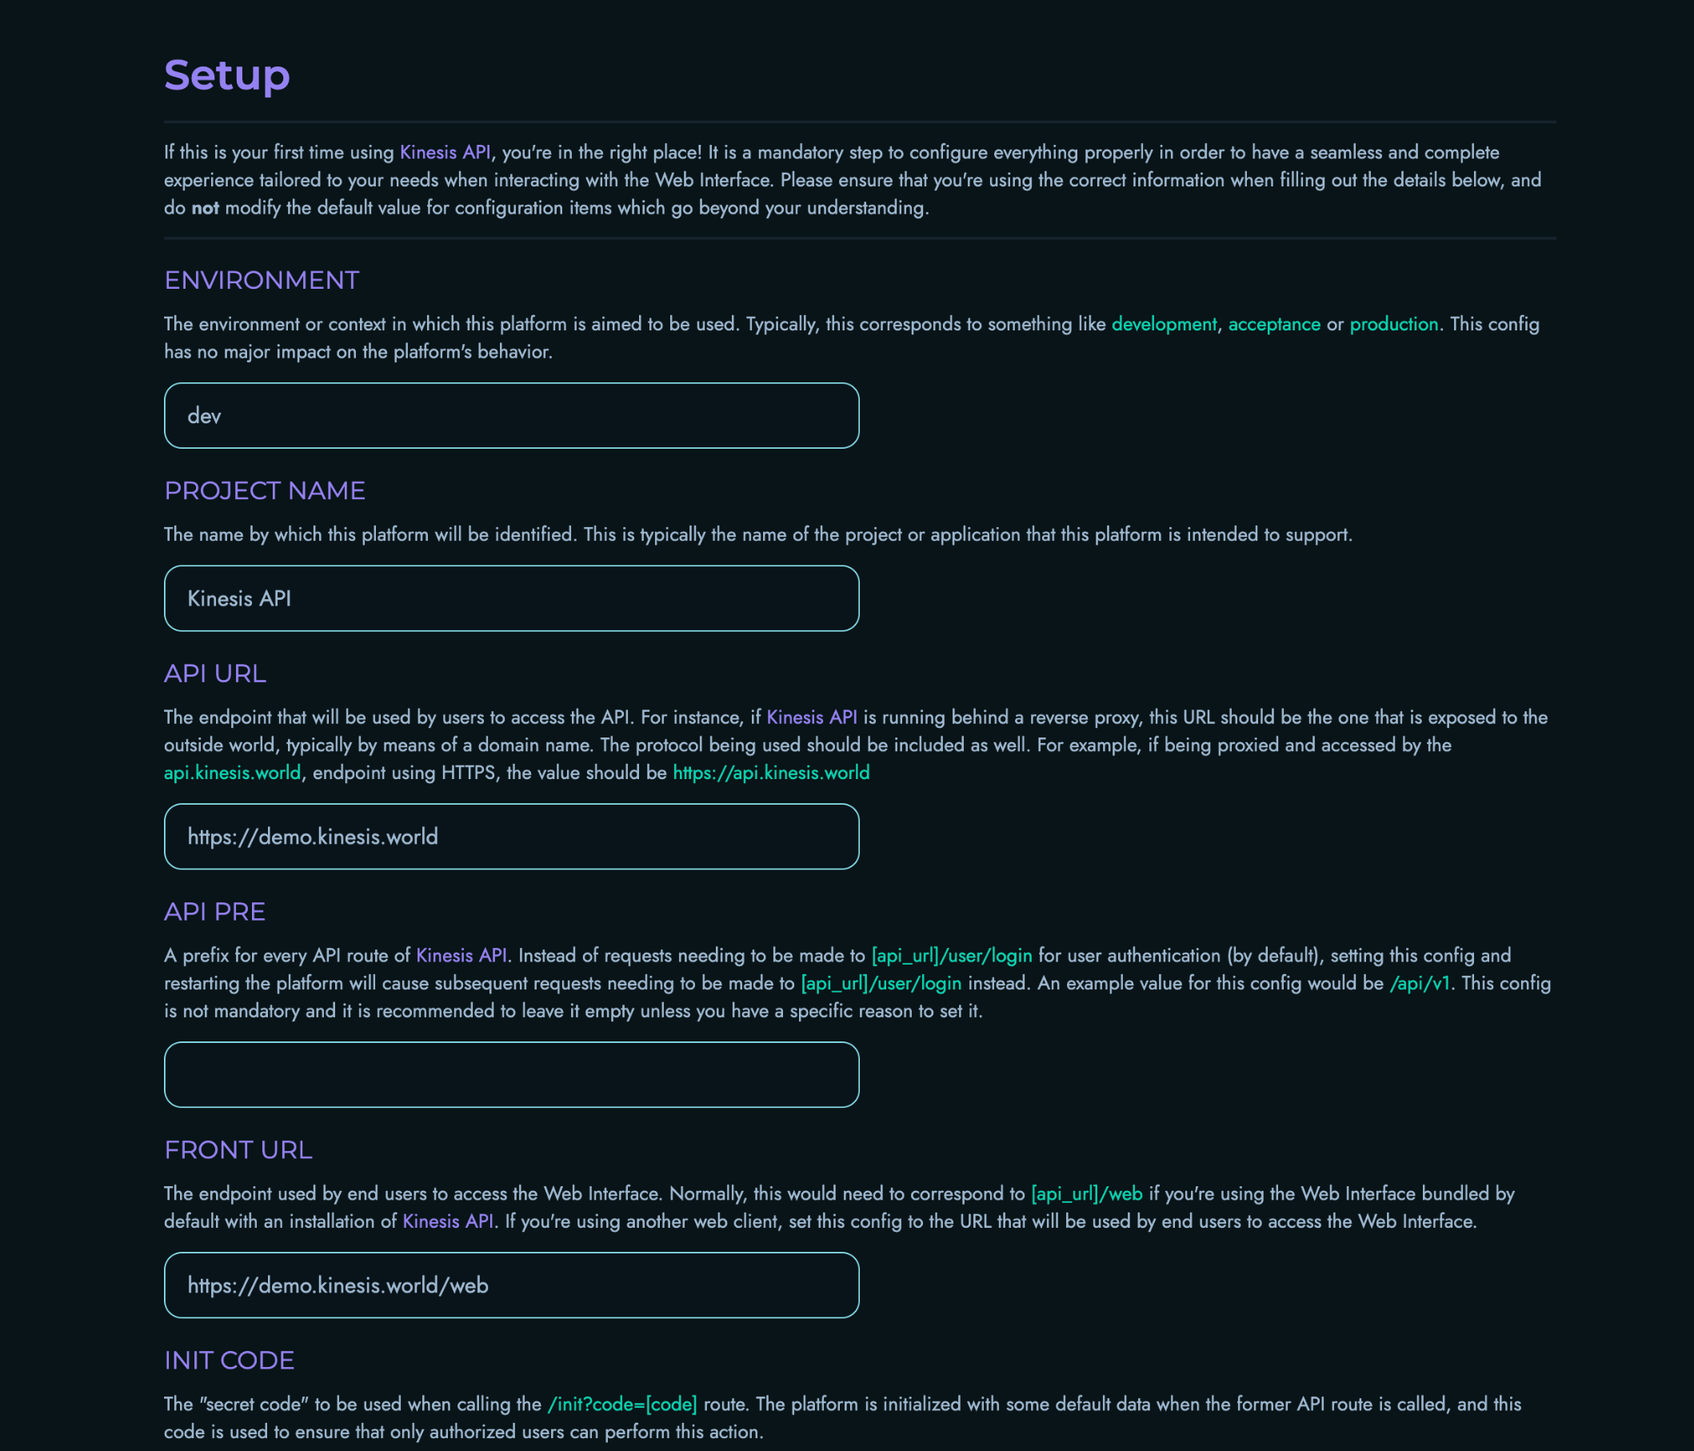
The Setup Process
The setup process is a one-time configuration wizard that appears after the first login with your root account. It allows you to customize essential system settings before you start using Kinesis API.
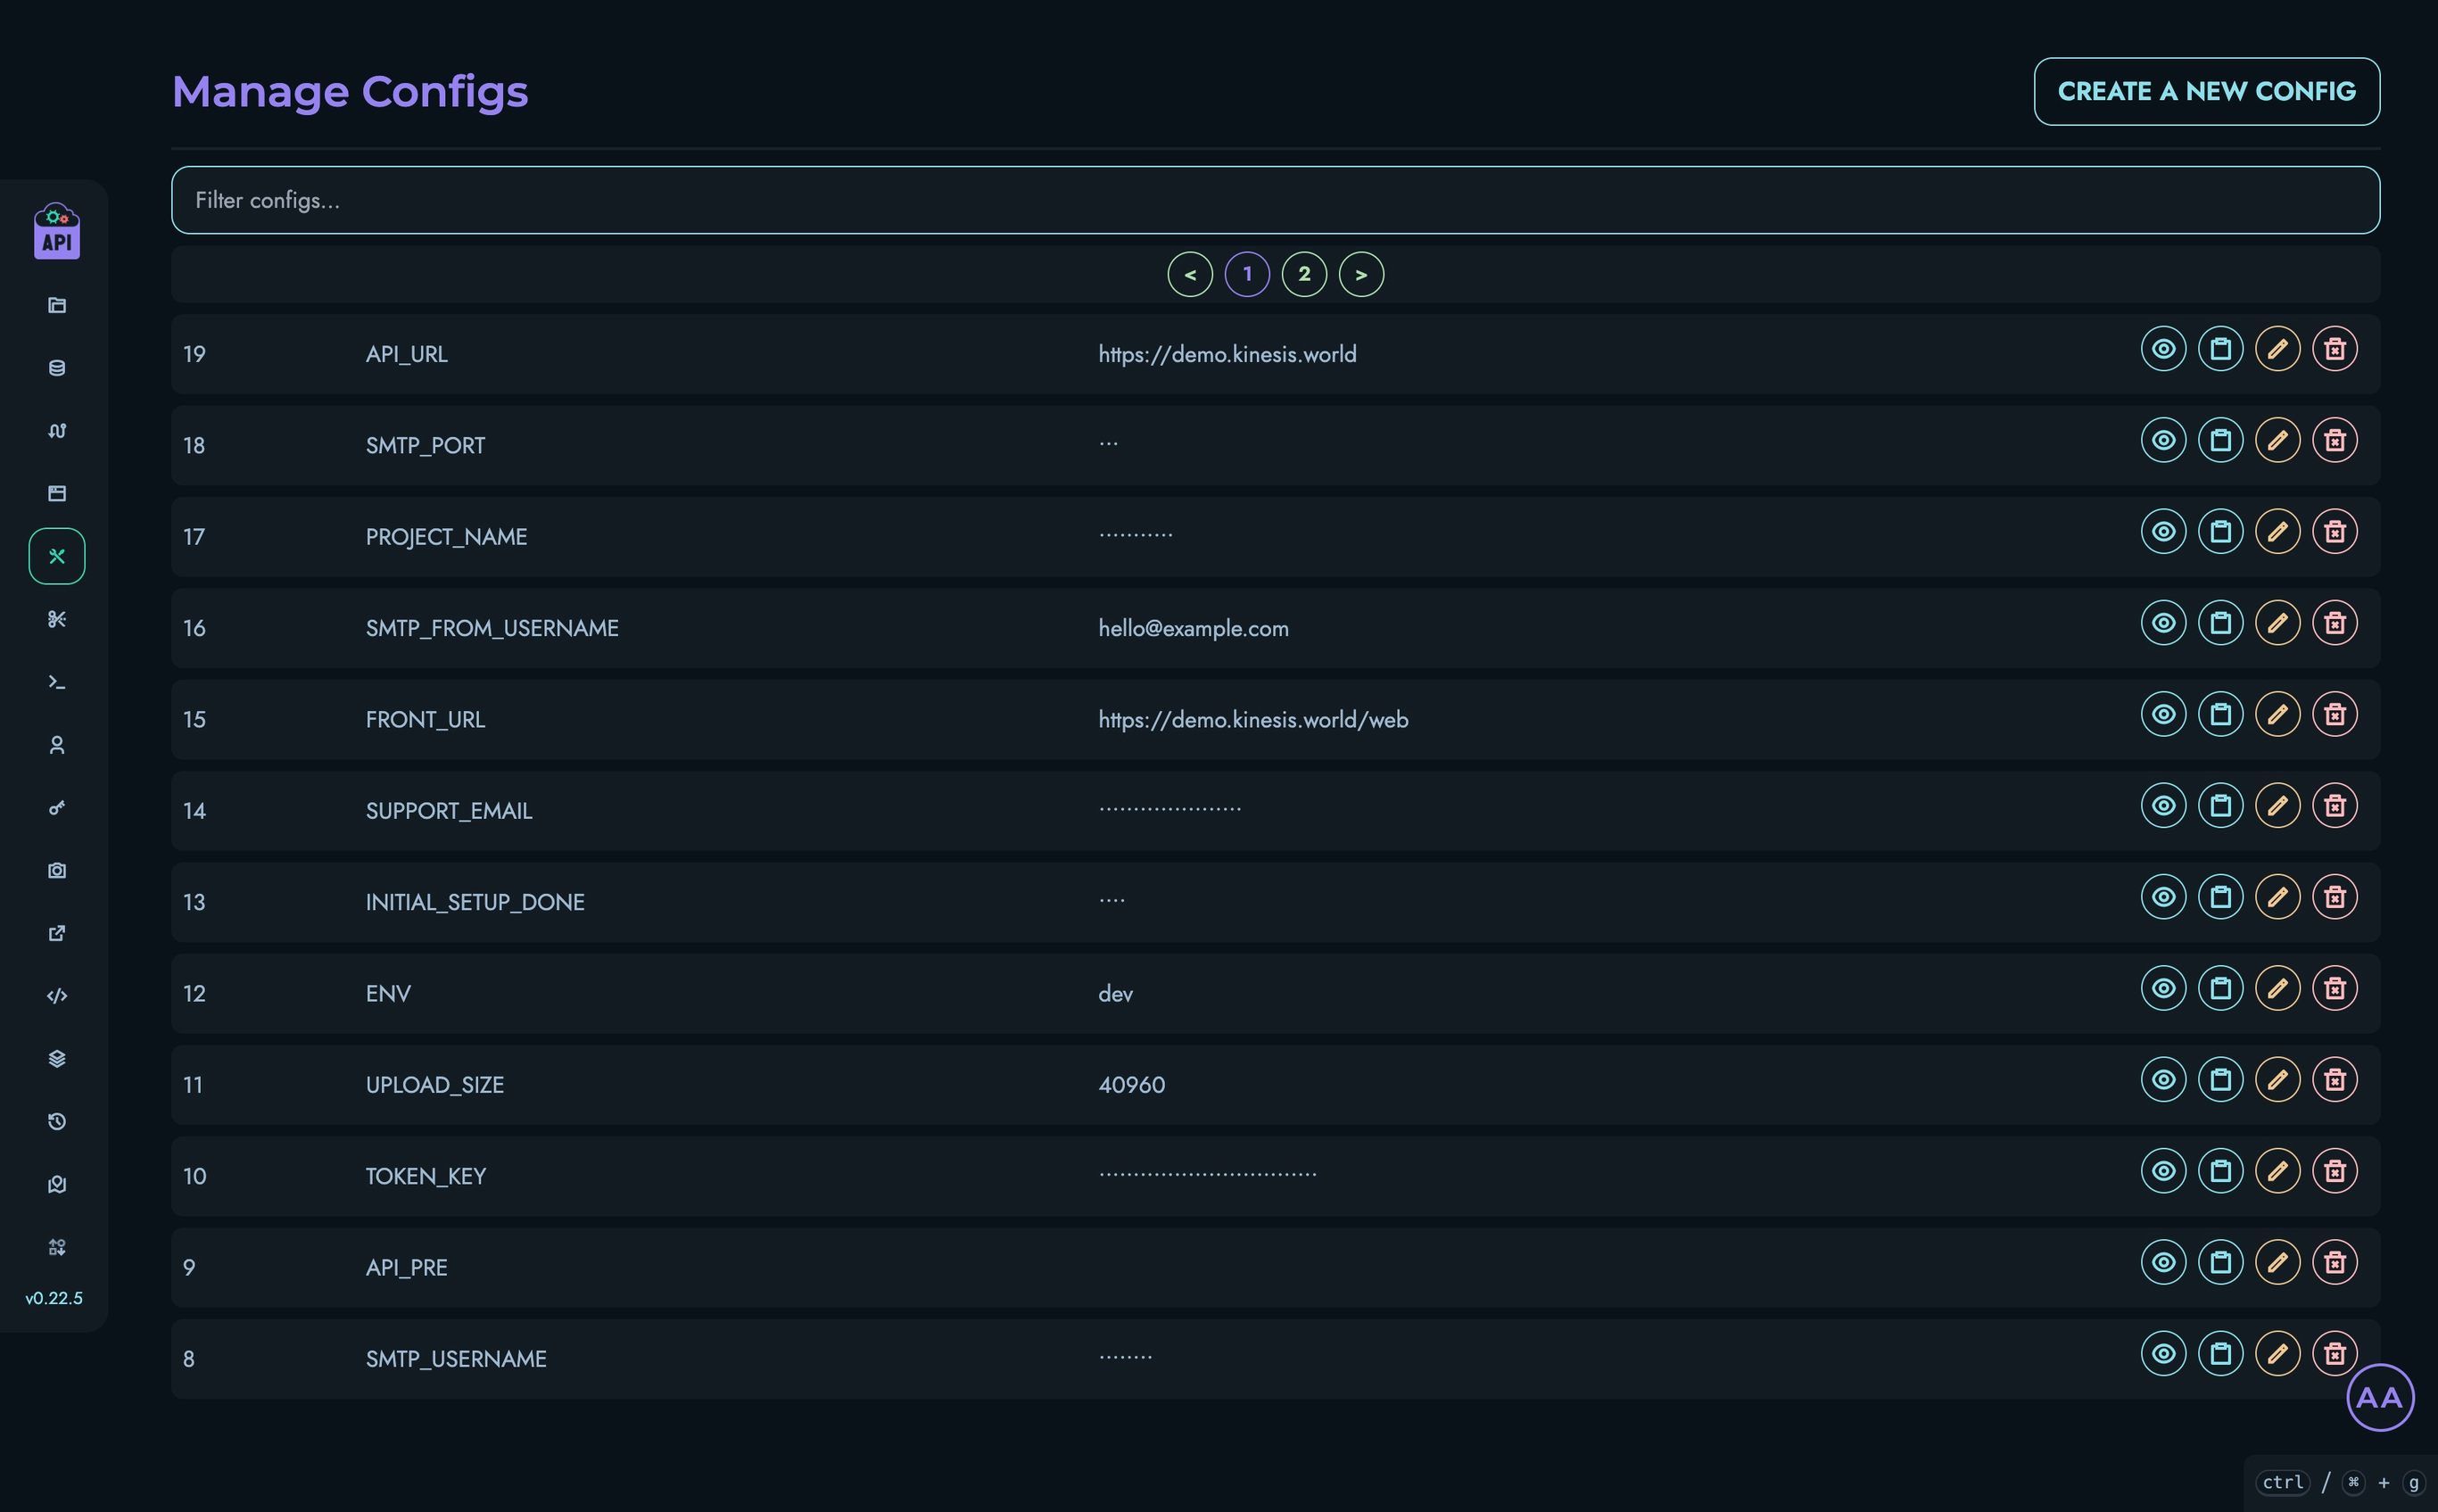
Note: All settings configured during this initial setup can be modified later from the Configs page accessible at
/web/configs. If you’re unsure about any setting, it’s generally safer to keep the default value.
Configuration Options
Environment
Default value: dev
The environment context in which this platform is being used. Typically corresponds to development stages such as:
dev(Development)staging(Staging/Testing)prod(Production)
This setting has minimal impact on system behavior but helps to identify the instance’s purpose.
Project Name
Default value: Kinesis API
The name by which this platform will be identified. This appears in the user interface, email templates, and other user-facing areas. You can customize this to match your organization or project name.
API URL
Default value: Detected from your installation
The base URL where your API endpoints are accessible. This should include the protocol (http/https) and domain name or IP address.
Example: https://api.example.com
If your Kinesis API instance is running behind a reverse proxy, this should be the publicly accessible URL, not the internal address.
API Prefix (API PRE)
Default value: Empty
An optional prefix for all API routes. When set, all API endpoints will be prefixed with this value.
Example: Setting this to /api/v1 would change endpoint paths from:
/user/loginto/api/v1/user/login
Leave this empty unless you have a specific need for URL path prefixing, such as API versioning or integration with other systems.
Front URL
Default value: [API_URL]/web
The URL where users will access the web interface. If you’re using the default web interface, this should be your API URL followed by /web.
Example: https://api.example.com/web
If you’re using a custom frontend or have deployed the web interface separately, specify its URL here.
Init Code
Default value: code
The security code required when calling the /init endpoint to initialize the system. Changing this provides a small layer of security against unauthorized initialization.
Recommendation: Change this from the default value to something unique, especially in production environments.
JWT Expire
Default value: 3600 (1 hour)
The lifetime of JWT authentication tokens in seconds. After this period, users will need to log in again.
Common values:
3600(1 hour)86400(24 hours)604800(1 week)
Shorter times enhance security but require more frequent logins. Longer times improve user convenience but may increase security risks if tokens are compromised.
Upload Size
Default value: 2048 (2 MB)
The maximum allowed size for file uploads in kilobytes. Adjust based on your expected usage and server capacity.
Examples:
1024(1 MB)5120(5 MB)10240(10 MB)
Setting this too high could lead to server resource issues if users upload very large files.
CORS Whitelist
Default value: Empty
A comma-separated list of domains that are allowed to make cross-origin requests to your API.
Examples:
example.com,api.example.com(Allow specific domains)*(Allow all domains - not recommended for production)
For security reasons, only whitelist domains that legitimately need to access your API.
SMTP Settings
These settings configure the email sending capabilities of Kinesis API, which are required for features like user registration and password reset.
SMTP Username
Default value: Empty
The username for authenticating with your SMTP server. This is typically your email address.
Example: [email protected]
SMTP From Username
Default value: Same as SMTP Username
The email address that will appear in the “From” field of emails sent by the system. If left empty, the SMTP Username will be used.
Example: [email protected]
SMTP Password
Default value: Empty
The password for authenticating with your SMTP server.
SMTP Host
Default value: Empty
The hostname or IP address of your SMTP server.
Examples:
smtp.gmail.com(for Gmail)smtp.office365.com(for Office 365)smtp.mailgun.org(for Mailgun)
SMTP Port
Default value: 587
The port number used to connect to your SMTP server.
Common values:
25(Standard SMTP - often blocked by ISPs)465(SMTP over SSL)587(SMTP with STARTTLS - recommended)
SMTP Login Mechanism
Default value: PLAIN
The authentication mechanism used when connecting to the SMTP server.
Options:
PLAIN(Standard plain text authentication)LOGIN(Alternative plain text authentication)XOAUTH2(OAuth 2.0-based authentication)
Most SMTP servers use PLAIN authentication. Only change this if your email provider specifically requires a different mechanism.
SMTP StartTLS
Default value: true (Checked)
Whether to use STARTTLS when connecting to the SMTP server. This upgrades an insecure connection to a secure one.
Most modern SMTP servers require this to be enabled for security reasons.
Testing SMTP Settings
Before completing the setup, you can test your SMTP configuration by clicking the “Check SMTP Credentials” button. This will attempt to connect to your SMTP server and verify that your credentials are correct.
Completing Setup
After configuring all settings, review your choices carefully before clicking “Complete Setup”. The system will save your configuration and redirect you to the login page.
Important: It’s recommended to restart your Kinesis API instance after completing the setup to ensure all settings take effect properly.
Skipping Setup
While it’s possible to skip the setup process, this is not recommended as it may leave your system with incomplete or incorrect configuration. Only skip setup if you’re an advanced user who plans to configure the system manually.
Modifying Settings Later
All settings configured during initial setup can be modified later from the Configs page at /web/configs. This allows you to make adjustments as your needs change without having to reinstall the system.
Changing the Default Password
To change the default password:
- Log in to the web interface using the default credentials.
- Navigate to User Settings (click on your username in the bottom-right corner then “Edit profile”).
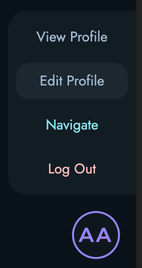
- Select “Change Password”.
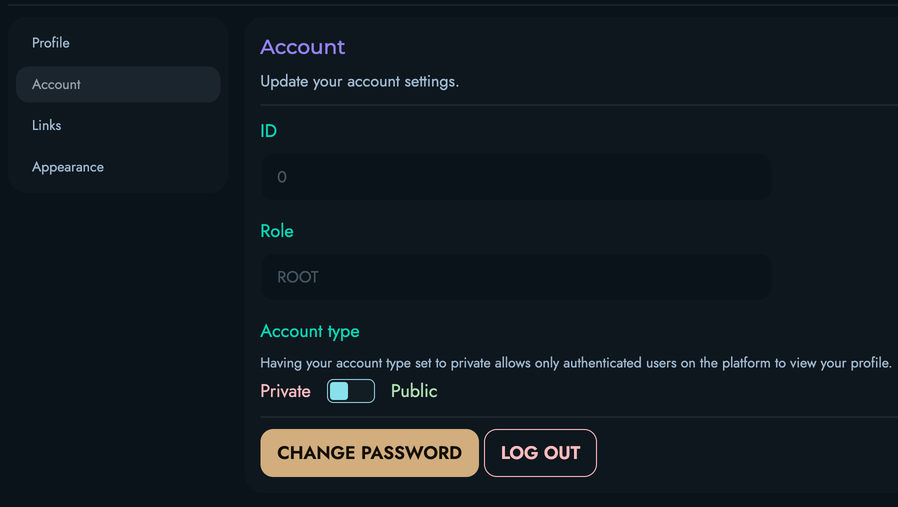
- Enter your new secure password twice.
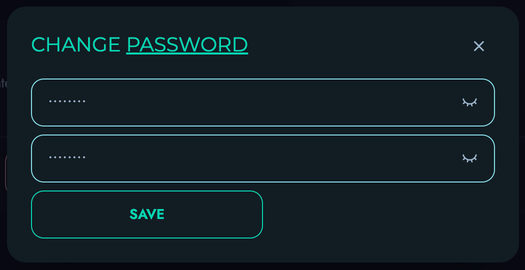
- Click “Save” to confirm updating the password.
Next Steps
After completing the setup, you’ll be ready to start using Kinesis API. Consider exploring these areas next: