Profile
User profiles in Kinesis API provide a way for users to personalize their identity within the platform and share information with others. This page explains how to view, edit, and manage user profiles.
Understanding User Profiles
Each user in Kinesis API has a profile that includes:
- Basic Information: Name, username, and email address
- Profile Picture: A visual representation of the user
- Bio: A free-form text area for users to describe themselves
- Links: Customizable links to external sites (social media, portfolio, etc.)
- Visibility Settings: Controls who can view the profile
Profiles help users identify each other within the platform and provide context about their roles and expertise.
Viewing Profiles
Accessing Your Own Profile
To view your own profile:
- Click your username in the navigation bar
- Select “View Profile” from the dropdown menu
Alternatively, navigate directly to /web/user?id=your_username.
Viewing Other Users’ Profiles
To view another user’s profile:
- Click on their username anywhere it appears in the interface
- Navigate directly to
/web/user?id=their_username
Note that you can only view profiles of other users if:
- Their profile is set to public, or
- You are logged in and have appropriate permissions
Profile Content
A typical user profile displays:
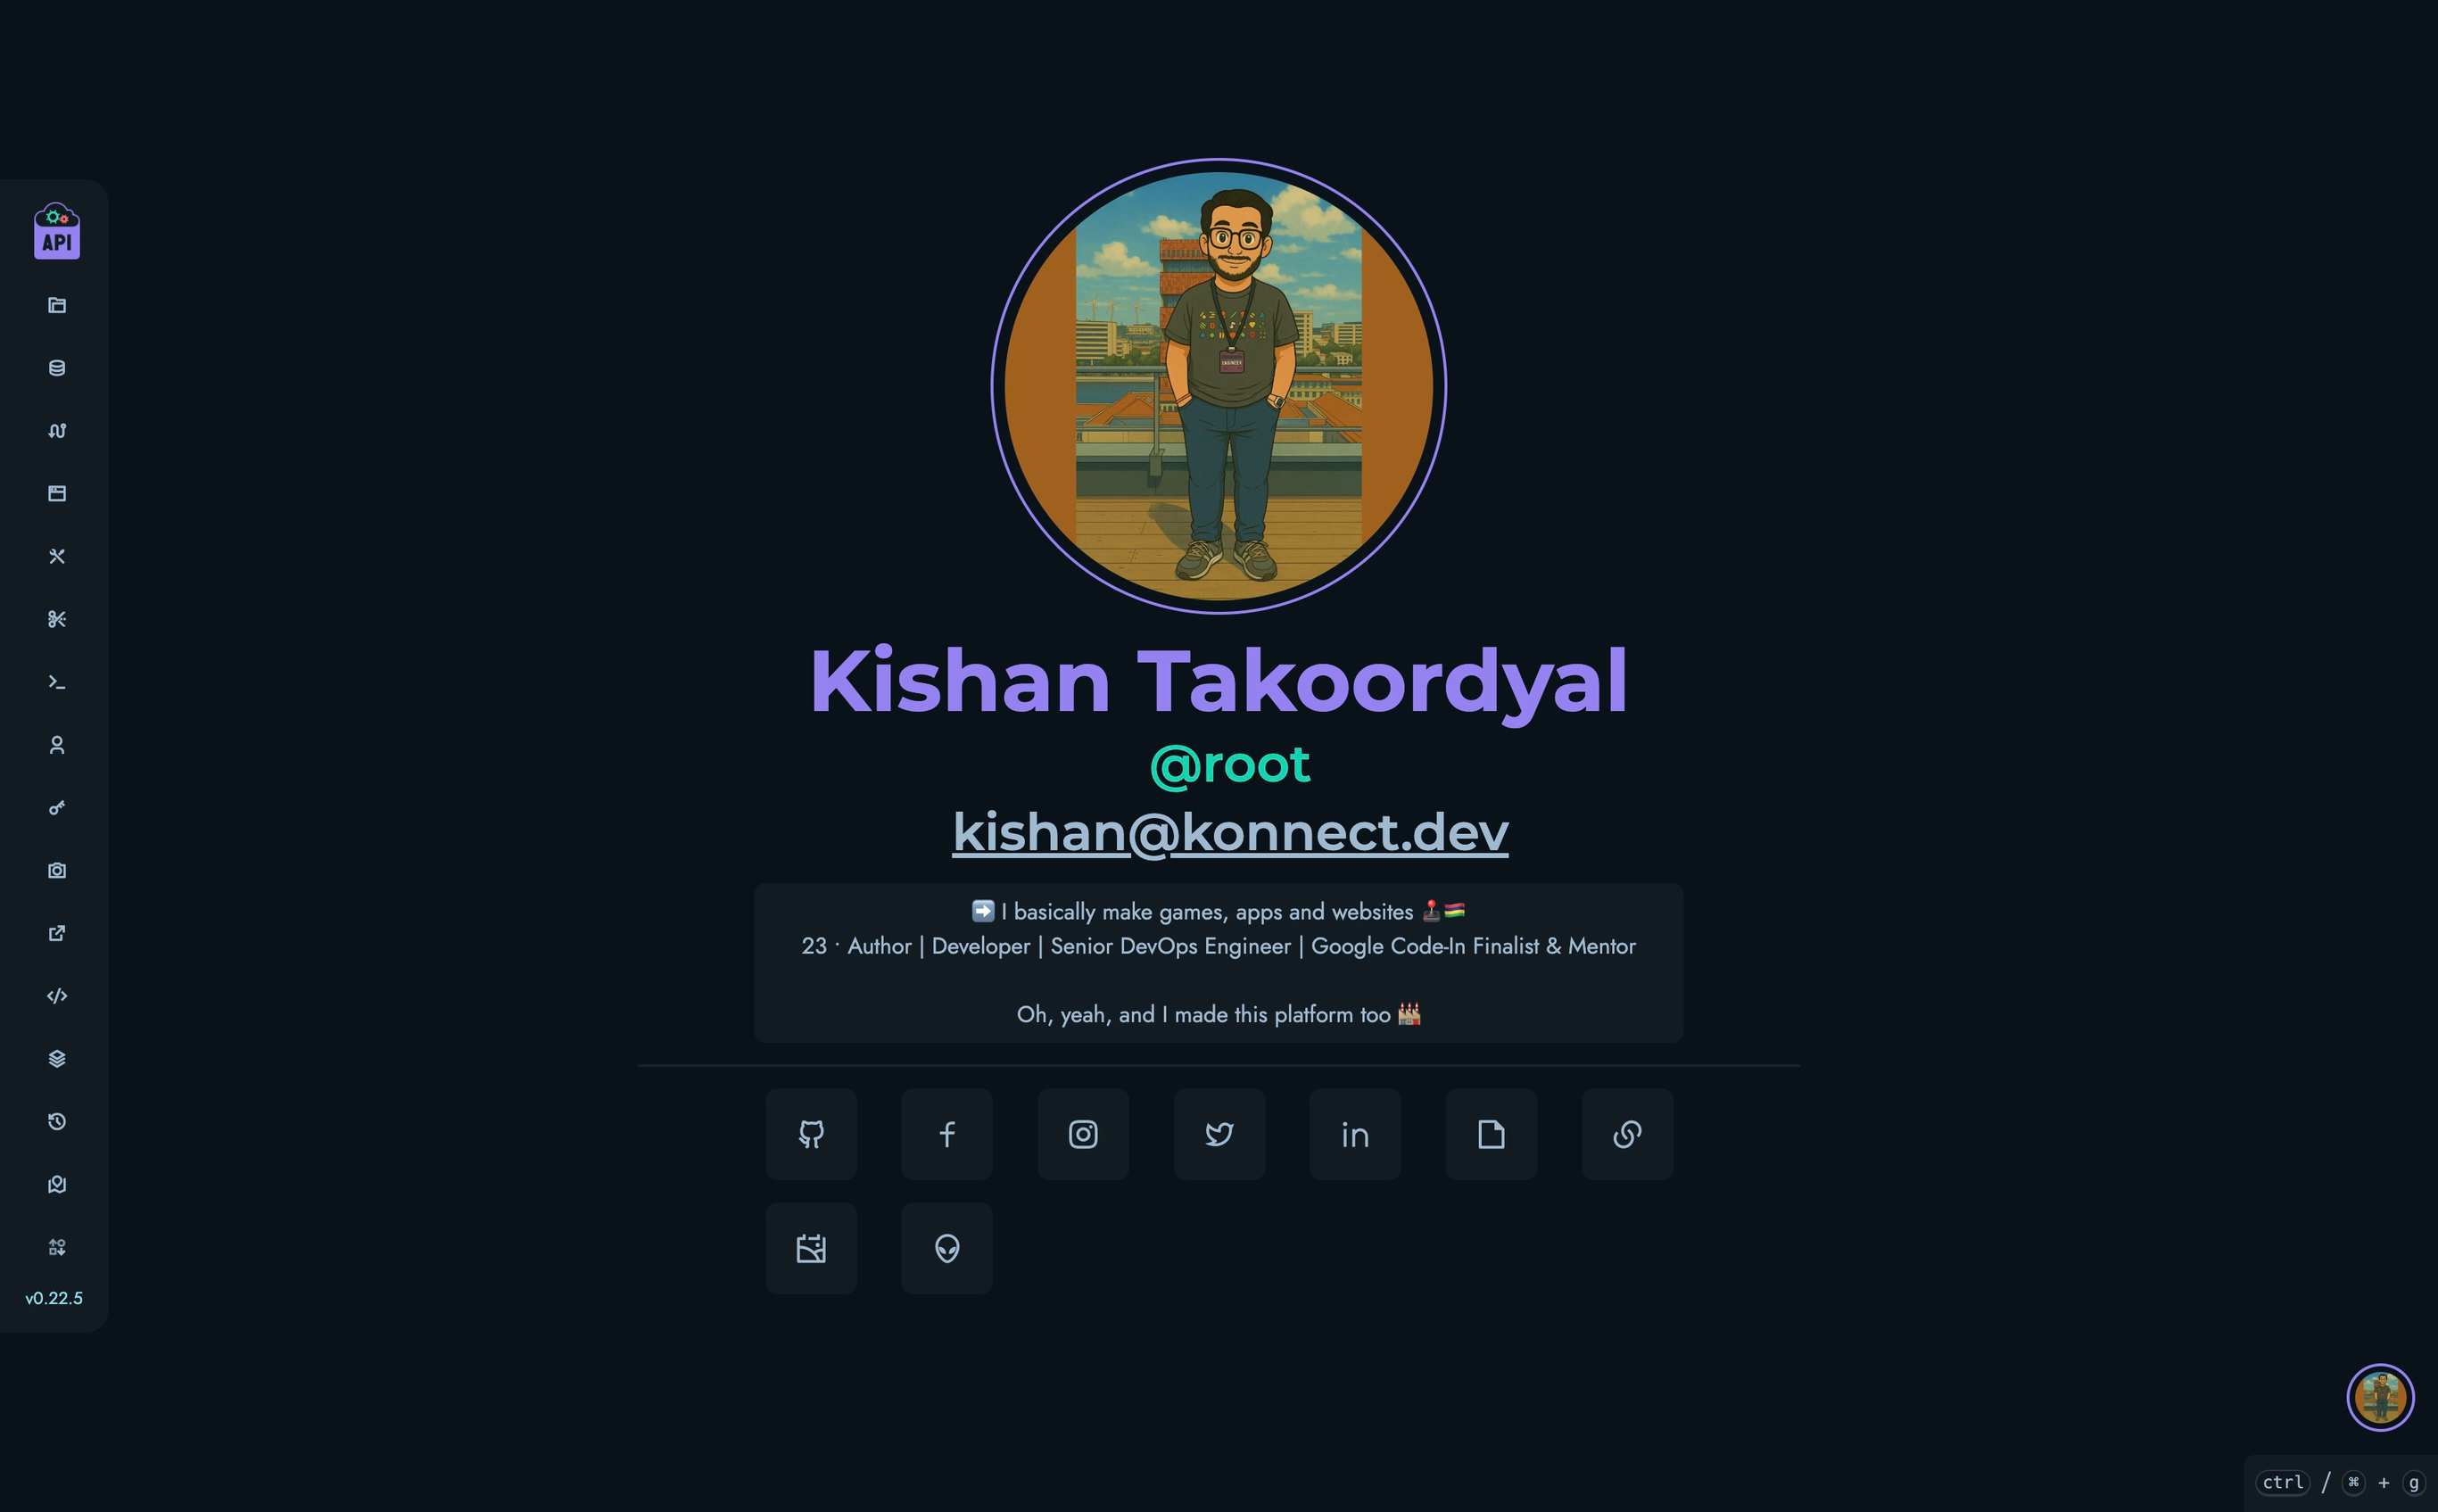
- Profile Picture: Either an uploaded image or initials if no image is provided
- Full Name: The user’s first and last name
- Username: Prefixed with @ (e.g., @john_doe)
- Email Address: Clickable to send an email
- Bio: The user’s self-description
- Links: Icons linking to external sites
Profile Visibility
Profiles can be set to either:
- Public: Visible to anyone, even unauthenticated visitors
- Private: Only visible to authenticated users of the platform
This setting can be changed in the user settings page.
Editing Your Profile
To edit your profile:
- Click your username in the navigation bar
- Select “Edit Profile” from the dropdown menu
- The settings page opens with the Profile tab active
Profile Settings
The profile settings page allows you to edit:
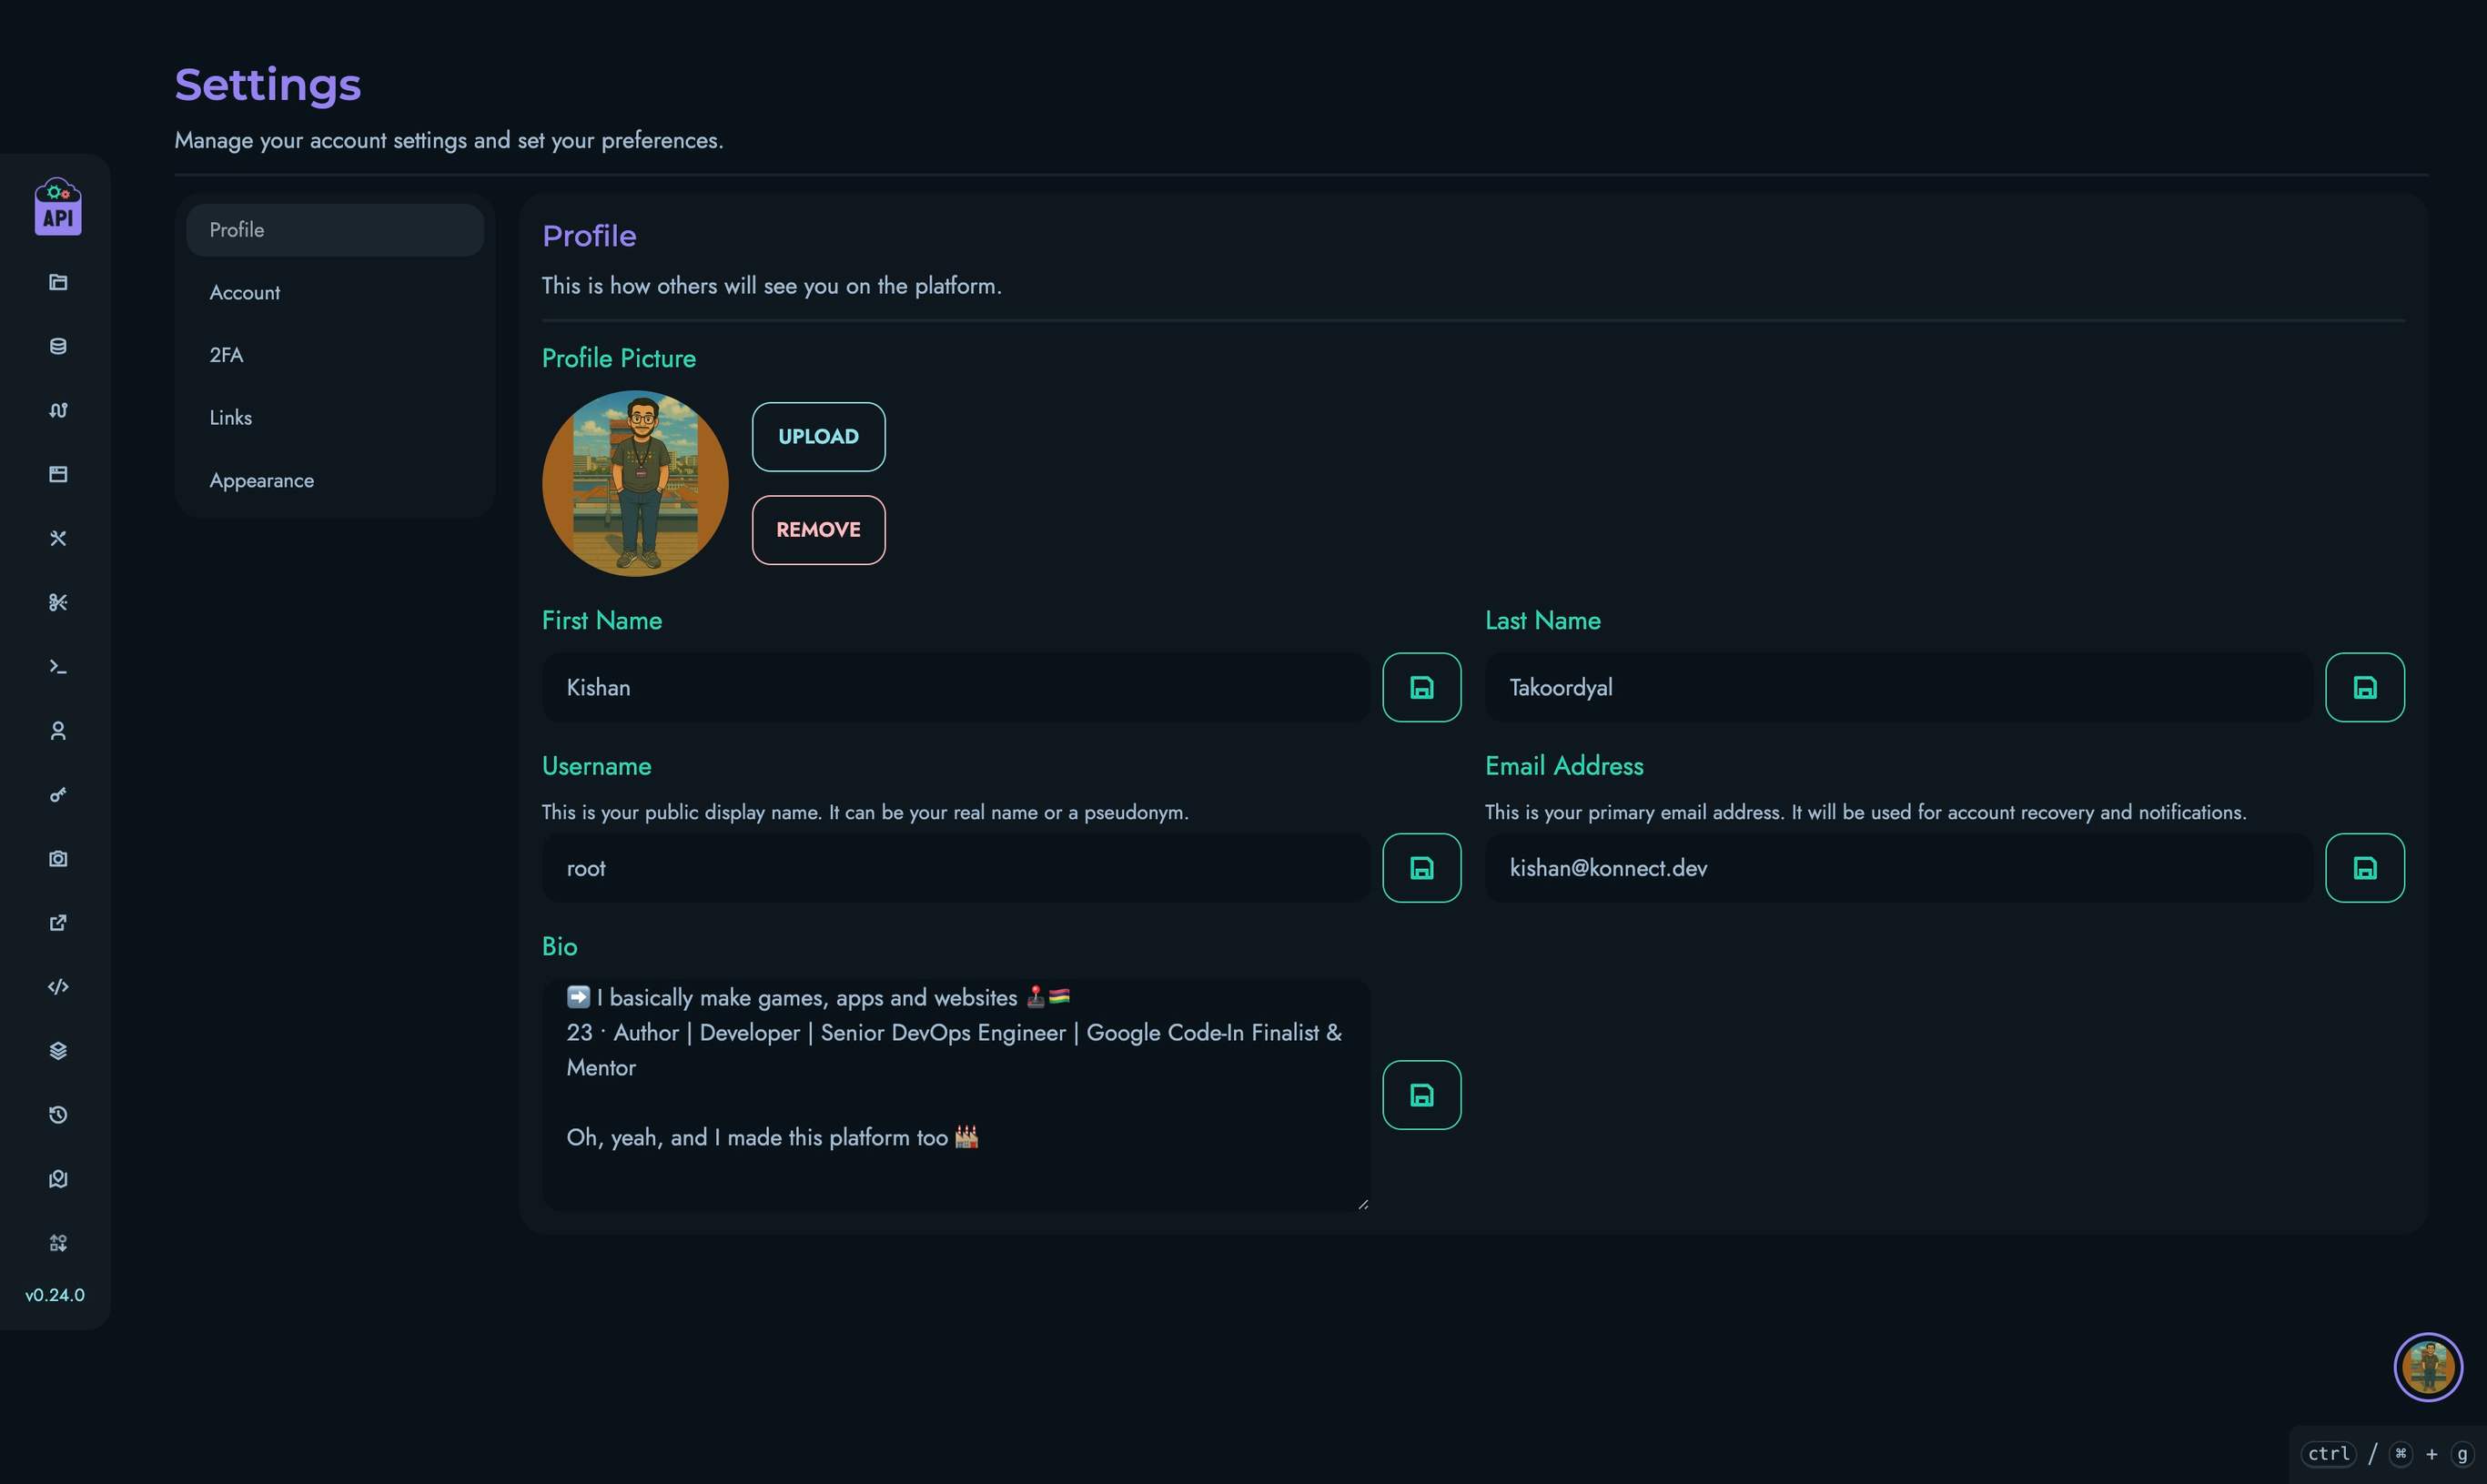
Profile Picture
- Upload: Click “Upload” to select an image from your device
- Remove: Click “Remove” to delete your current profile picture and revert to initials
Profile pictures are automatically resized and optimized for display.
Basic Information
You can edit the following fields:
- First Name: Your given name
- Last Name: Your family name
- Username: Your unique identifier on the platform (must be unique)
- Email Address: Your contact email (must be unique)
Bio
The bio field supports plain text where you can describe yourself, your role, or any information you wish to share. Line breaks are preserved in the display.
Account Settings
The Account tab provides additional options:
- ID: Your unique numeric identifier (non-editable)
- Role: Your assigned role in the system (non-editable)
- Account Type: Toggle between public and private profile visibility
- Change Password: Update your login password
- Log Out: End your current session
Two-Factor Authentication (2FA)
The 2FA tab allows you to add an additional security layer to your account. Two-factor authentication requires both your password and a time-based verification code when logging in.
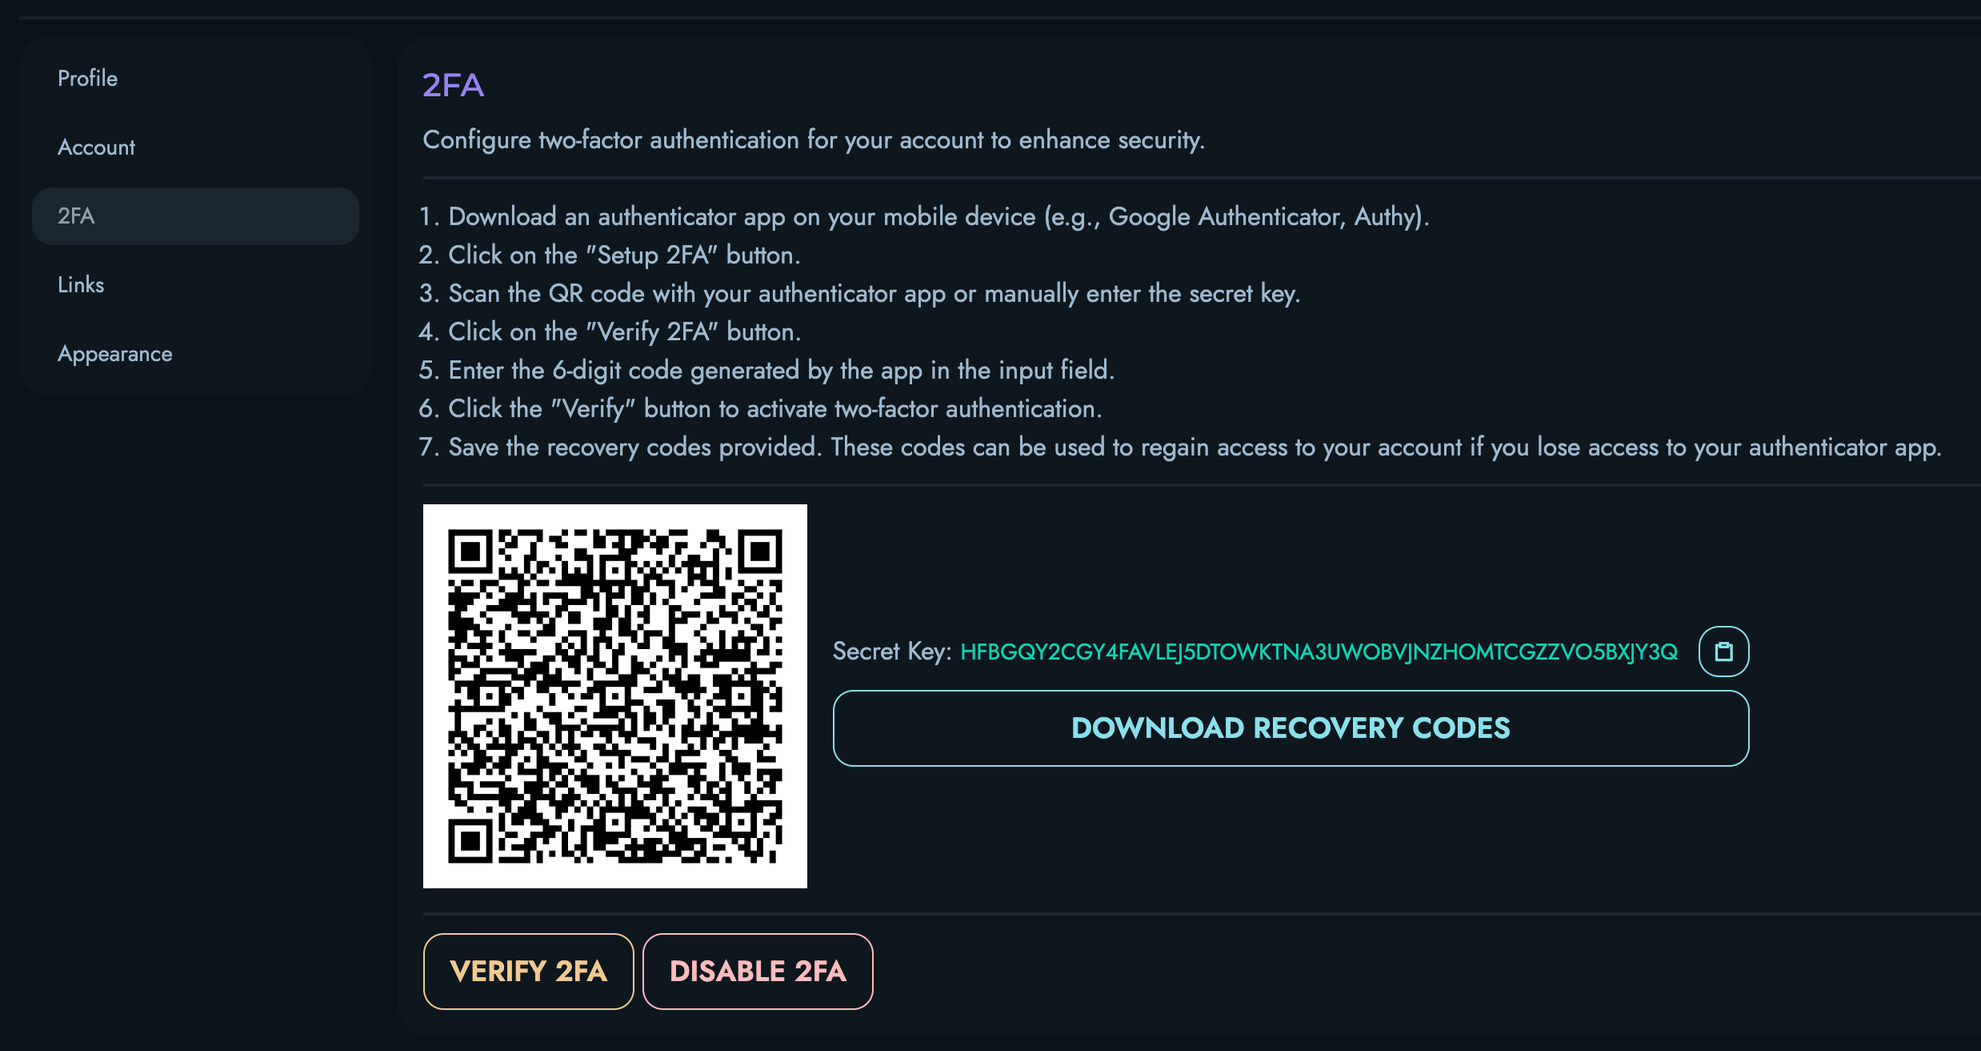
Setting Up 2FA
- Navigate to the 2FA tab in Settings
- Click the “Setup 2FA” button
- A QR code and secret key will appear
- Scan the QR code with an authenticator app (such as Google Authenticator, Authy, or Microsoft Authenticator)
- Click “Verify 2FA” and enter the 6-digit code displayed in your authenticator app
- After successful verification, your 2FA is active
Recovery Codes
When setting up 2FA, you’ll receive a set of recovery codes. These one-time use codes allow you to access your account if you lose your authenticator device.
- Click “Download Recovery Codes” to save these codes
- Store them securely in a password manager or other safe location
- Each code can be used only once
Disabling 2FA
If you need to disable 2FA:
- Navigate to the 2FA tab in Settings
- Click the “Disable 2FA” button
- Confirm your decision when prompted
Security Best Practices
- Never share your 2FA secret key or QR code with anyone
- Store recovery codes securely and separately from your password
- If you get a new device, set up 2FA again before disposing of your old device
- Consider using a password manager that supports TOTP (Time-based One-Time Password) as a backup
Links
The Links tab allows you to manage external links displayed on your profile:
- Click “New” to add a link
- For each link, you can specify:
- URL: The full web address (must include https://)
- Icon: A Remix Icon class name (e.g., ri-github-fill)
- Name: A label for the link
- Click “Save” to update all links at once
You can add multiple links and delete existing ones as needed.
Appearance
The Appearance tab lets you customize the interface:
- Theme: Select from various color themes
- Sidebar: Choose which items appear in your navigation sidebar
Profile Usage Best Practices
- Complete Your Profile: A complete profile helps others identify and contact you
- Appropriate Content: Keep profile information professional and relevant
- Regular Updates: Keep your information current, especially contact details
- Consider Visibility: Set appropriate visibility based on your role and preferences
Related Documentation
- Users - Overview of user management
- Personal Access Tokens - Managing API access tokens